Friday 14 August 2015

Oatmeal Raisin Pancakes


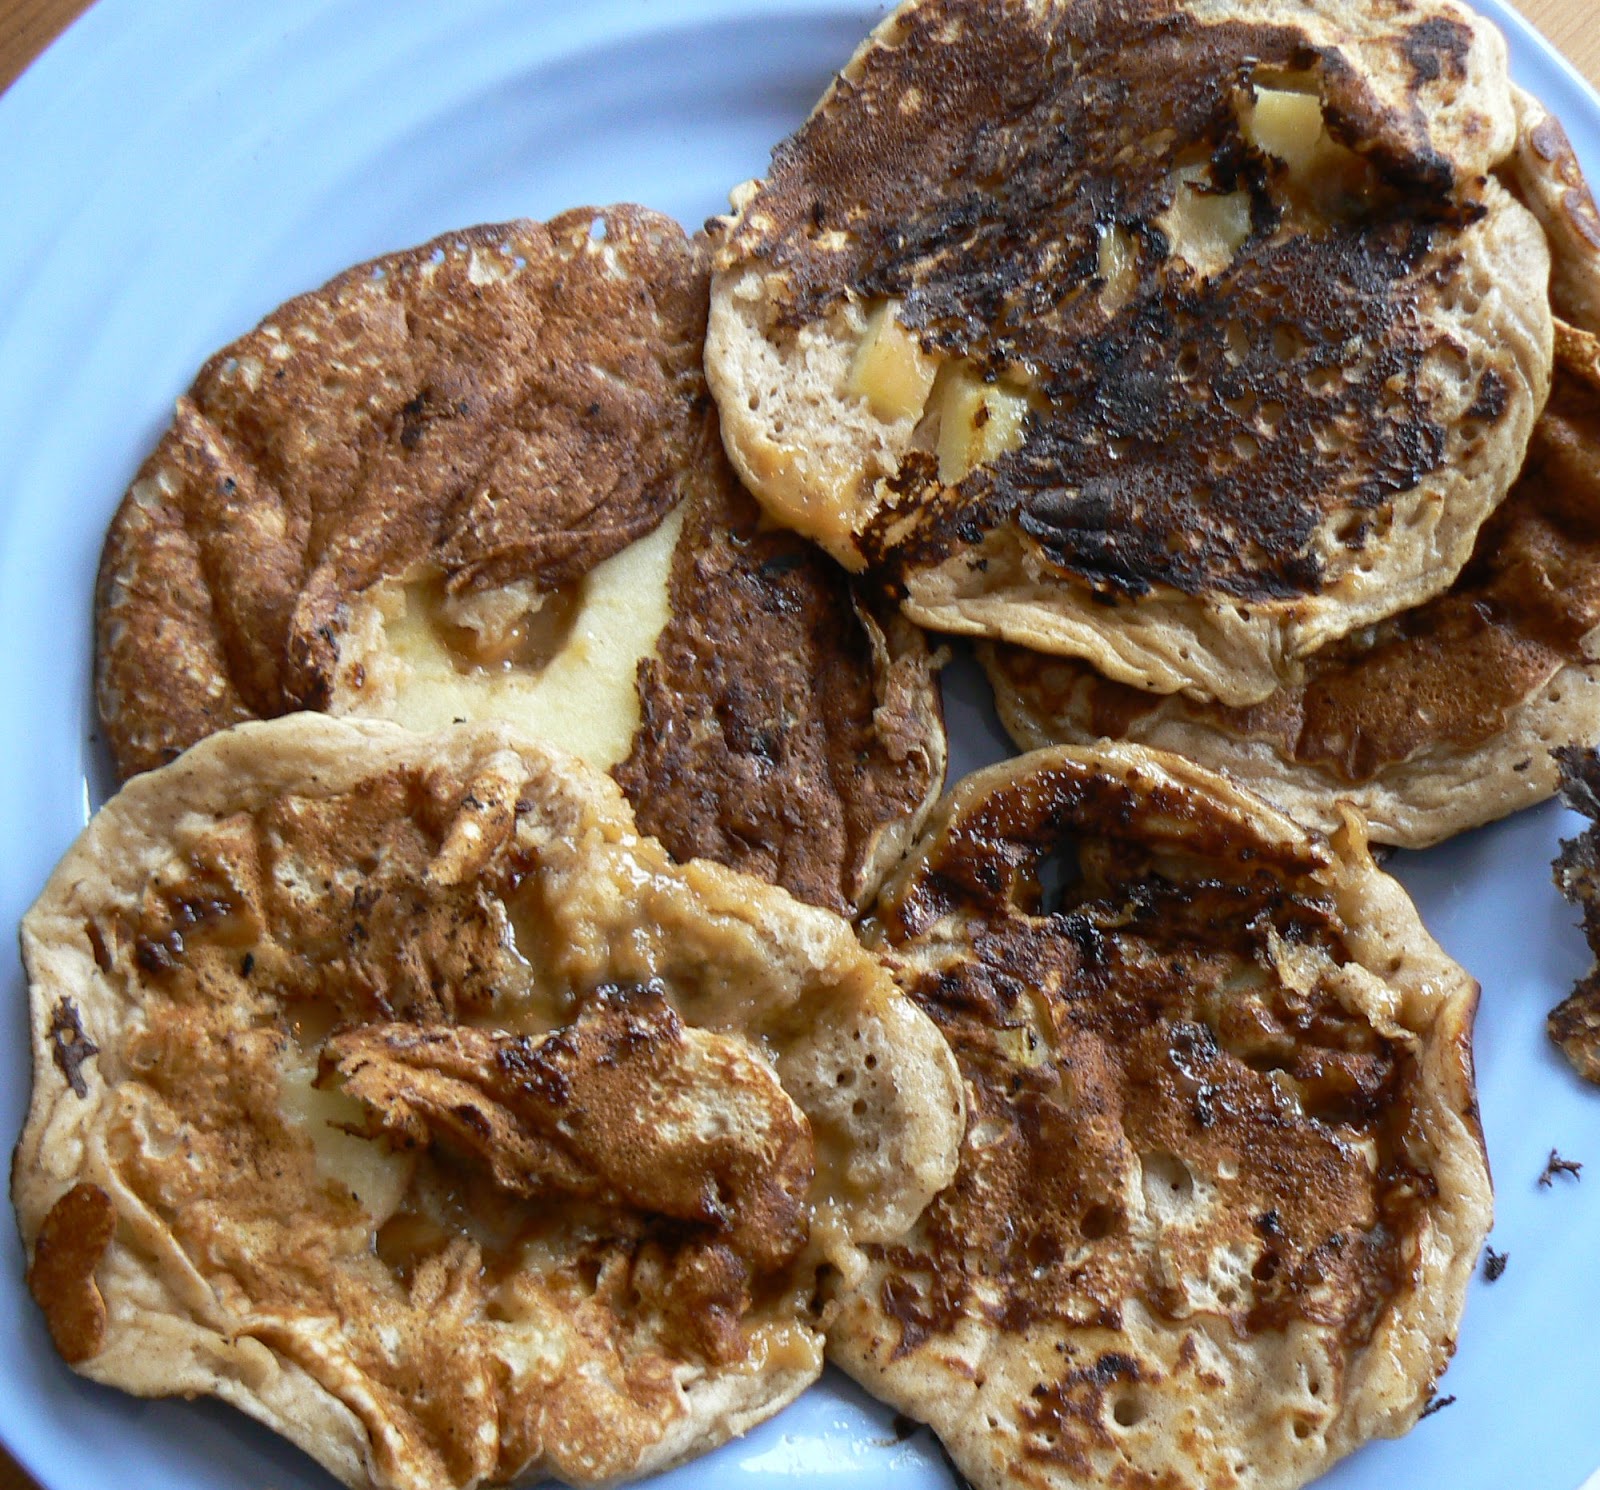
This week's pancakes were a tribute to my favourite cookies, oatmeal raisin. I love the texture that the oatmeal gives to the cookies combined with the sweetness of the raisins. These were an adaptation of the Blueberry Oatmeal Yogurt pancakes found over at Damn Delicious.  They were AMAZING!

I say adaptation because the original recipe called for Greek yogurt, and of course blueberries which I didn't have on hand. I substituted regular plain yogurt and added cinnamon.


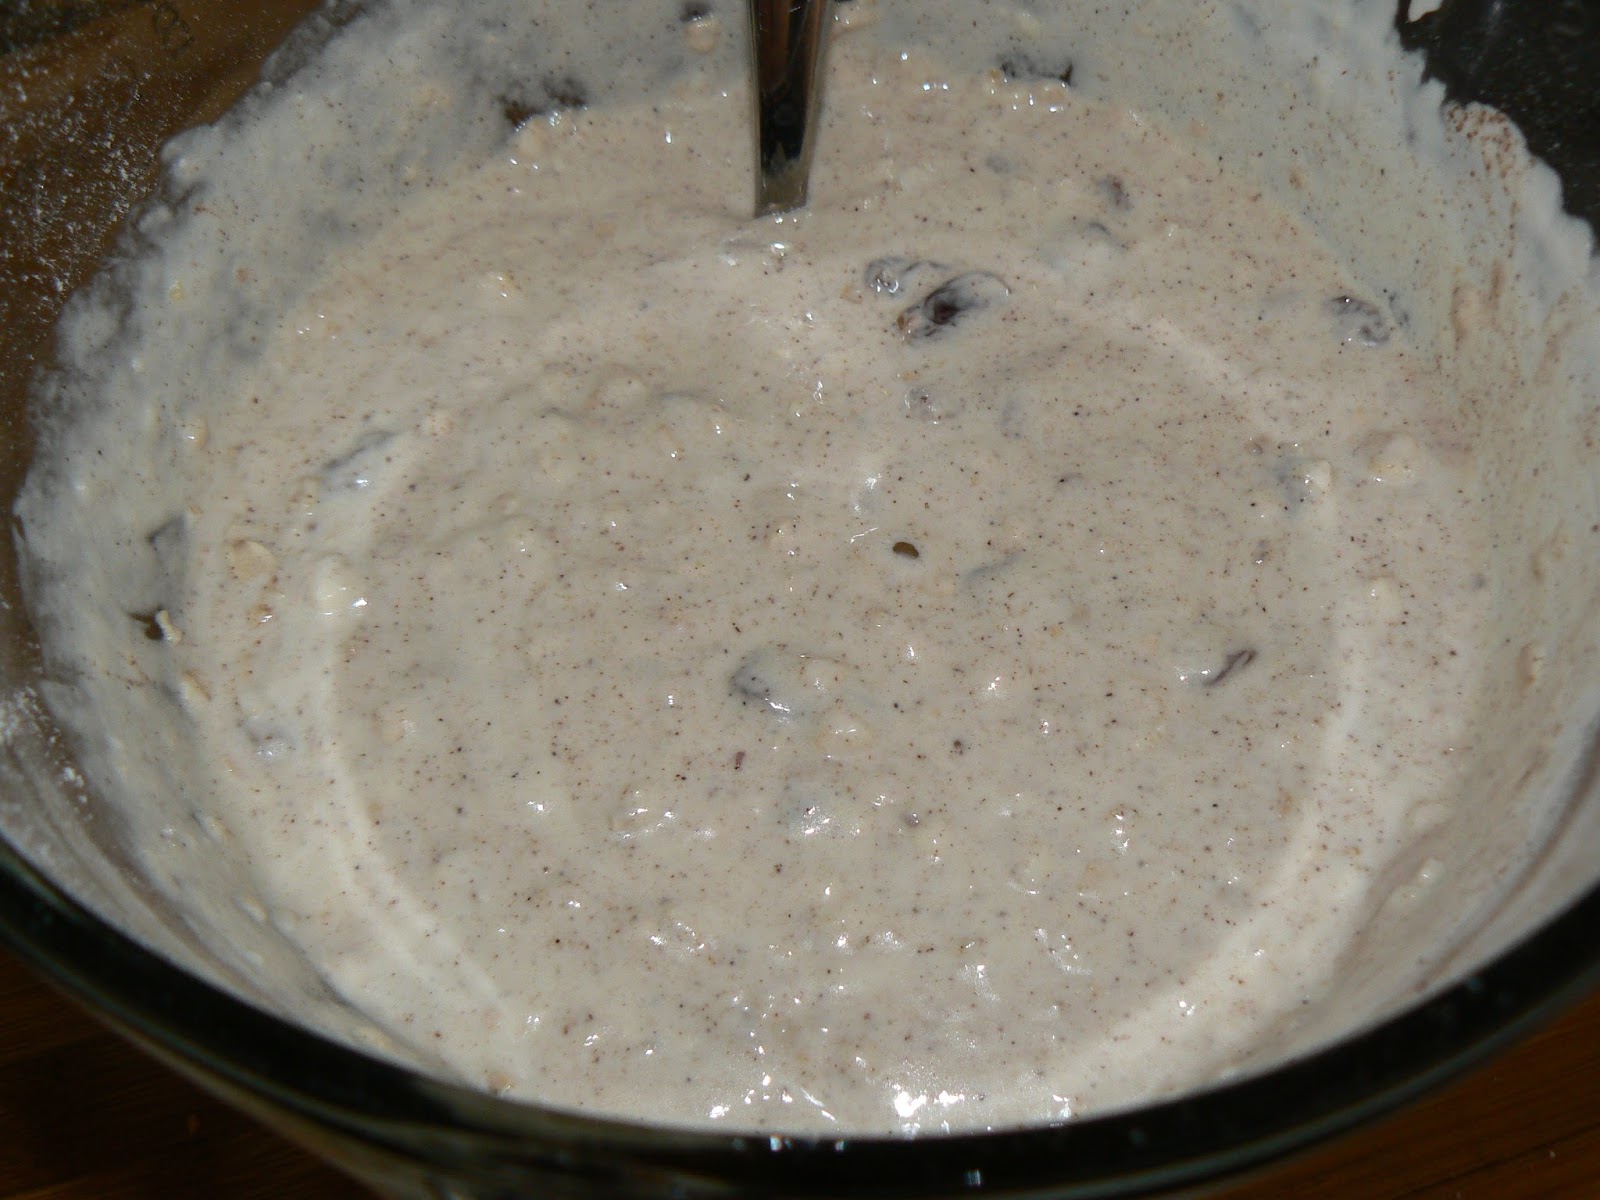
First mix your dry ingredients including the cinnamon. Beat the eggs on a separate bowl with the yogurt, milk and butter. I actually used olive oil instead of the butter because I was too lazy to put the butter in the microwave. Add the wet to the dry and mix well. Next, add the raisins and mix again. If your raisins are really dry you can plump them up by soaking them in water for 30 minutes, just be sure to drain them before adding them to you batter.


This batter was pretty thick so a ladle was necessary to get the batter in the pan. 
Wait for the bubbles ...

... and flip.


Throw your favourite toppings on and eat! We like the simplicity of butter and syrup... and of course the Bug loves his sprinkles :)

Here's the recipe:

Ingredients

  • 1 2/3 cups all-purpose flour
  • 2/3 cup old-fashioned rolled oats
  • 2 tablespoons sugar
  • 1 1/4 teaspoons baking powder
  • 1/4 teaspoon baking soda
  • 1/4 teaspoon salt 
  • 1 teaspoon cinnamon
  • 1 cup plain yogurt
  • 1 cup milk
  • 4 tablespoons unsalted butter, melted
  • 2 large eggs 
  • 1 cup raisins 
Directions
  • In a large bowl, combine flour, oats, sugar, baking powder, baking soda, salt and cinnamon.
  • In a large glass measuring cup or another bowl, whisk together yogurt, milk, butter and eggs. Pour mixture over dry ingredients and stir. Add raisins and mix to combine. 
  • Ladle about 1/2 cup of batter into pan and cook for about 2 minutes or until bubbles form on top.  
  • Flip and cook for another 2 minutes until both sides are a golden brown.

Suggestions: If you are using Greek yogurt add another 1/4 cup to 1/2 cup of milk. This will thin the batter a little bit. I found this batter to be pretty thick even with plain yogurt.

Friday 7 August 2015

Caramel Apple Cinnamon Pancakes.

When my friend, Krista, suggested this week's pancake flavour I couldn't wait to make them, Thursday morning couldn't come fast enough. Who doesn't love the combination of apple, cinnamon and gooey caramel? I imagined them looking and tasting like a warm apple pie.
Unfortunately, this is not what I got. I wouldn't call them a disaster but they definitely were not pretty. The caramel melted and stuck to the pan which caused the pancakes to break apart when I tried to flip them. They did taste amazing though :)


I started with my basic pancake recipe found here and added caramel squares, apples and cinnamon. Mix up your dry ingredients including about 2 teaspoons of cinnamon. Mix the wet ingredients in a measuring cup then combine with the dry. Mix well.

Unwrap your caramel squares and chop into small pieces. I chopped each square into 9 pieces but this may have been too big. Definitely oil your knife with vegetable oil or cooking spray because as we all know, caramel is sticky and the oil will prevent the caramel from sticking to your knife.


I initially sliced my apples into rings. The plan was to place a slice of apple on top of the pancake before flipping.

This probably would have worked really well if the caramel hadn't stuck to the pan. This particular pancake became more like apple crumble. It tore and turned into a big mess. I diced the rest of the apple and threw it into the batter.


See? Not pretty. They tasted great so they may get a second chance in a few weeks. I do have some ideas to fix them:

  • smaller caramel pieces may reduce the sticking
  • Skor pieces instead of the caramel.These can be purchased in the baking aisle next to the chocolate chips.
  • If all else fails, Apple Cinnamon pancakes with a caramel sauce!
See the little holes? That's where the caramel melted and oozed out :(

Wednesday 29 July 2015

The Pancake Project, Week 1

Hi,

Thank you for visiting my little slice of the web. I will be using this site to post my reviews of different recipes, patterns and other projects mostly inspired or outright taken from Pinterest.

My first project is going to be pancakes. One day every week I make pancakes for breakfast. I always start with my mother's recipe as a base and then add different flavours. The problem is that sometimes my additions don't work and I can never remember which ones are amazingly good, which are ok and which are terrible. I also can't remember what flavours we have tried, although the leftovers in my freezer may provide a little bit of this information.

Since this is a brand new site, I'm going to go back to the basics and start with the plain, basic recipe that my mother used when I was a kid. I never understood why people use boxed mixes for something as simple as pancakes. It takes about two minutes longer and tastes 100 times better to make them from scratch. Not to mention that it's the only way to know exactly what is in there. This particular recipe is so simple you will never go back to those mixes and even the pickiest eater will love them.

Warning: I love taking pictures but I am not the greatest photographer so this blog is going to be full of pictures, some of which will be blurry.

 Start by gathering your ingredients:
  • 1 1/2 cup Flour
  • 1 Tablespoon Sugar
  • 1/2 teaspoon Salt
  • 1 Egg
  • 1 Tablespoon Baking Powder
  • 1 Tablespoon Oil
  • 1 teaspoon Vanilla 
  • Milk, enough to get the right consistency, around 2 cups
 

 Mix all of the dry ingredients in a bowl.


Lightly beat your egg in a measuring cup then add the oil and vanilla. Now fill the cup with milk. I find that a 2 cup measure makes the perfect consistency of batter. If you are adding something like cocoa or peanut butter, you will need more milk.


Add the wet ingredients to the dry and mix. I like to use a whisk to get rid of most of the lumps (some lumps are ok but no one likes biting into a blob of flour). Your batter should be runny and pour easily.


Use a spoon, ladle or whatever works for you to get the batter into the pan. For a plain batter like this I pour it into an empty mayonnaise bottle for way less mess (shorter clean up time!)

See the bubbles in the picture? They tell you that the first side is done and the pancake is ready to flip. It usually takes about 1.5-2 minutes per side to get the perfect golden brown.


Add your favourite toppings and enjoy! We like to keep it simple with a little butter and syrup. My son, Bug, loves sprinkles on everything so they get added as well.